PACK & FIT
THAT'S ALL THERE IS TO IT!
YOUR SIMPLE GUIDE TO PACKING AND FITTING CLOTH NAPPIES FOR ULTIMATE EASE-OF-USE, TAILORED ABSORBENCY & THE PERFECT FIT FOR YOUR BUB

USING CLOTH NAPPIES
There are two things to learn when it comes to using cloth nappies easily and effectively - how to pack the nappy and how to fit the nappy.
1
PACKING
2
FITTING

PACKING
Not sure how to pack for your babes different stages of wetting? Here is a simple guide to follow according to age.
NEWBORN (0-3 MONTHS)
As Bub is still fresh this means output is going to be little and changes frequent. For this reason you only need the booster to begin with. I suggest folding it one third so absorbency is at the front of the nappy. Making sure to lay on top of the stay dry layer and fit the insert firmly against bubs skin before stretching over the cover so the elastics relax into the groin for a tight seal.
INFANT (3M - 1Y)
Once your bub starts to output more and gain some weight you can swap out the booster for the main insert. Here is where tailored absorbency comes to play with the many ways to fold the long insert depending on where the absorbency needs are. This is an example that works well for most infants as absorbency is needed at the front of the nappy. Folding the insert into three folds at the front of the nappy tailors absorbency to where its needed. Again, making sure to lay the insert on top of the stay dry layer and fit firmly against bubs skin before stretching over the cover so the elastics relax into the groin for a tight seal.
TODDLER (1YR TO TOILET TRAINED)
Once bub starts sleeping longer and out wetting the main inserts (the whole insert is wet- if not, adjust the fit and absorbency zone) then it's time to add the booster. This is great for nights, day naps, long car rides or any time where you need a little more absorbency. Use the booster to tailor absorbency to where bubs 'wet zone is'.
QUICK FIT GUIDE
STEP 1
Sit the back of the nappy just above bubs bum line. Decide on a fold and snap in your insert.
STEP 2
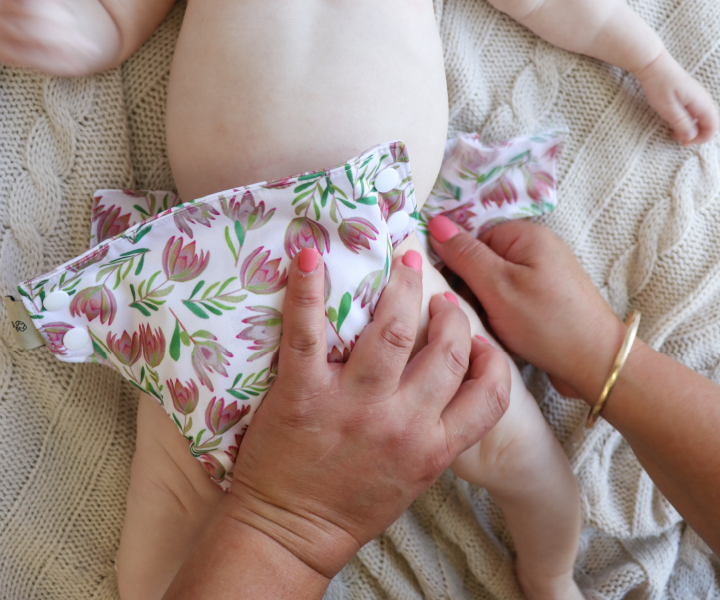
Fit the insert to bub first making sure it's firm against their skin.
STEP 3
Stretch the cover up and over to cover the inserts, releasing enough for it to relax into the groin.
STEP 4
Snap down the bottom snap to ensure a tight leg seal, then the top snap ensure comfort at the waist.
BUT I'VE GOT A PROBLEM, WHAT NOW?
So... you've followed the general packing guidelines but you've had a issue such as a leak, flooding or a poor fit - what do you do now? Don't panic! We cannot stress enough that every single bub is different in their size and wetting volume, so all you do is make some adjustments to your packing and you'll be on your way to cloth nappy success in no time.

I'VE SPRUNG A LEAK
Add the booster insert
Flooding and Wet Zone
Firm Fit


